Hang Prints with Magnets An inexpensive solution for displaying prints you want to change frequently
I love a well done gallery style framed image. There’s something about the clean matte black frame and crisp white matting to make an image stand out. However, matting framing images can get expensive and time consuming fast. Moreover, it’s not always necessary to have the formality of matting and a frame, especially when you’re just displaying your own work for you to enjoy.
For example, I want to enjoy my images the way I intended them, as big prints, but I don’t need the formality of a frame and matting to when they’re just for me to appreciate over my desk.
I tried for years to find an elegant solution that allowed me to easily change out my prints, without having to spend the time or money on matting and framing them. The solution I came upon certainly meets those needs. Moreover, its very inexpensive to get started with.
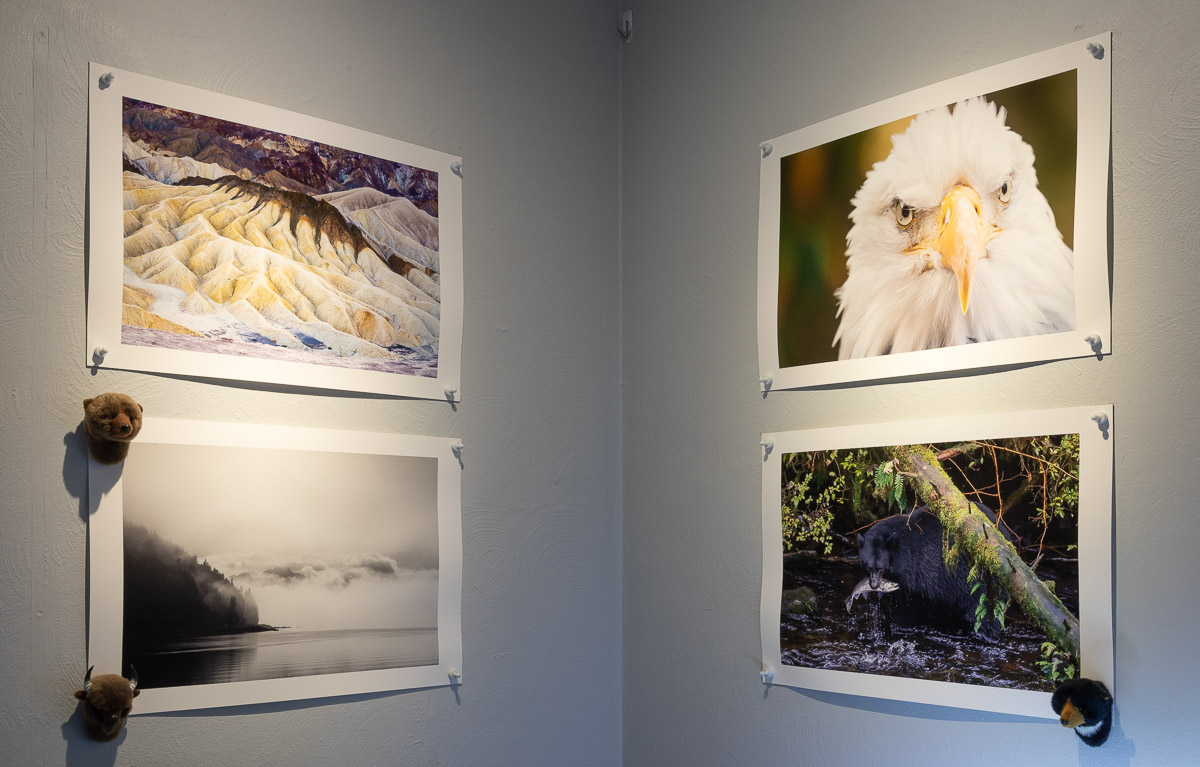
Moreover, I find there’s a second nice advantage to doing things this way, you can hang more prints. Previously in the space in the photo, I could only hang 1 framed and matted A3+ image. With this technique I can display two A3+ images.
That said, it should be obvious that doing this doesn’t provide your images with any protection against UV light or degrading gases. It should go without saying that you don’t want to mount expensive one-off signed prints this way.
Moreover, while I don’t mind the look, it might not be perceived as “professional” by others. So some care should be considered in where you might want to use this method.
What you’ll need:
There’s not a lot of tools or materials needed for this project, and you can easily do without some of the tools.
Materials
- 1″ x 12″ x 0.025″ (25 x 300 x 0.6 mm) 430 Stainless Steel Strip (I got mine from McMaster Carr)
- 3M Command Strips – Small(Affiliate Link) (amazon)
- Magnetic Push pins(Affiliate Link) (amazon)
Tools
- Tin or Aviation Snips(Affiliate Link) (amazon)
- A Hammer and a Block of Wood
- Potentially a straight file(Affiliate Link) (amazon)
Principally you need a way to cut the stainless steel strips. I used a yellow handle (straight) snip (aviation/tin/metal snip) when I made mine. However, other metal cutting solutions would work; such as a hacksaw.
Since I used the snips, I had to take some extra steps in cleaning up the cut edges. As part of the cutting action, snips will bend or curl one of the edges of the cut. I didn’t want my metal tabs to sit unevenly, so I had to do something to remove that small bend. My solution was to use a hammer and a wood block to gently hammer the bent edge flat.
If your cutting tool leaves a clean edge, such as a hacksaw or cut-off disk would, then you wouldn’t need to correct the edge.
As for the metal strips, you need to use something that’s magnetic, and 430 Stainless is. I went with stainless because I wanted the corrosion resistance to prevent me from having to pain the mounts and not risk leaving residue on the prints. While this is in an air conditioned building, I didn’t want to take the chance with regular steel. Plus the stainless was more than cheap enough anyway.
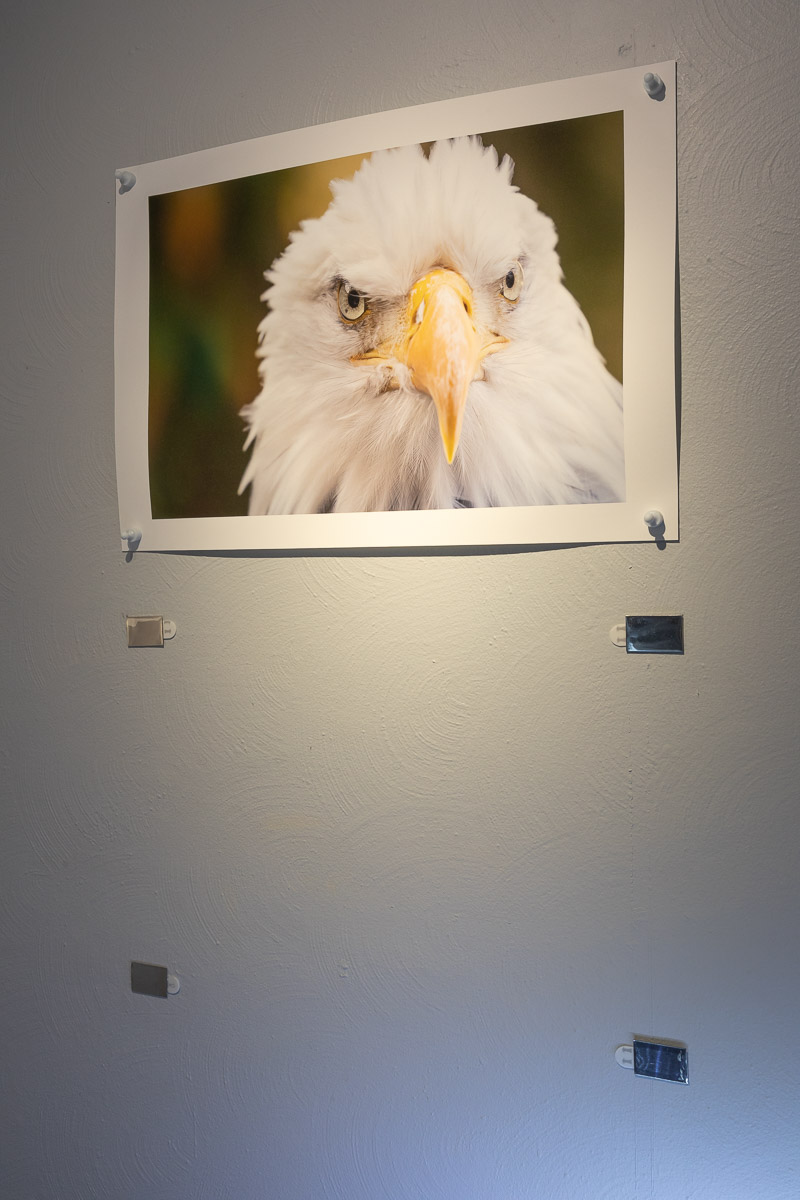
Finally, when it comes to the push pins, there’s value in different colors. In the example images that go along with this post, I’ve shown cases where either white or black work to blend into the image. While you can’t always get an exact match to the image’s color, getting close can go a long way to making the magnets disappear. Of course, you can also have some fun with it, as I did with the bear and bison magnets.
Process
- Measure and mark 1.5″ (38 mm) sections in the 1″ x 12″ strip.
- Cut the strip down at those marks
- Clean up the edges as necessary
- If the metal strips are covered with a protective film remove it
- Clean the metal strips using a solvent like Acetone or 90% Isopropyl Alcohol
- Mount the small command adhesive strip to along the long axis using the “red hook side”
- Measure and mount the strips to the wall, such that they’ll be hidden by the print they’ll be supporting
I cut down my strips to 1.5″ lengths to get more of them out of the bars than just using the bars. You could potentially go down to even 1″ x 1″ pieces, but that would be cutting it close with exposing the command adhesive strips.
As a mounting mechanism, this system is surprisingly strong. I have a 20″ x 60″ (508 x 1524 mm) print on at least 300 gsm paper hanging from only 5 of these mounts.
That said, for small images, such as A3+ (13×19) or 16 x 20, you do need 4 mounts; one for each corner of the image. From a holding perspective, 2 mounts would be more than adequate. However, I’ve found you need to secure all of the corners to prevent the prints from moving around in air currents, and potentially being damaged if they’re near a walk way. Moreover, I’ve found that some prints will slightly curl at unsecured corners.

One final feature I like about this is that you can easily scale the mounting solution up to support very big and very heavy prints. I use the same technique to mount a 30″ x 90″ (762 x 2,286 mm) pano that’s printed on very heavy matte paper. Moreover, matting and framing a print this big is extremely expensive and difficult.
Comments
There are no comments on this article yet. Why don't you start the discussion?