Recording your Lighting Setups
Do you take a picture of your lighting setup? How about making a drawing of it?
I didn’t, and now I’m starting to realize how much of a good idea it would have been to do this all-along.
Granted, a record isn’t always required, nor is the same level of detail needed in every situation. For many things, simply taking a photo of the entire set is probably good enough. For other situations, like shooting background plates for chroma-key work, or product setups that need to be repeatable in the future, more detailed measurements and diagrams are needed.
Like most things in photography, I can’t presume to tell you every situation that you might or might not need a record of the setup. Instead, I’m going to cover some of the tools I use, and the methods I’ve found useful now that I’m beginning to redress this aspect of the craft of photography.
Photos, Diagrams, or Both?
A picture may be worth a thousand words, but a diagram’s few dozen can make it count. How precise your records need to be depends on a lot of factors, such as on how accurately you may need to reproduce the scene and how big or small the scene actually is. A shot of a model with a big softbox to camera right, and a fill card to camera left, may be sufficiently conveyed simply by stepping back and shooting a wide-angle frame that covers the set. On the other hand, something like the product images that I have on my review pages, will definitely require more precise measurements to get accurate reproductions down the road.
One thing that can never really hurt is to step back and take a “behind the scenes” shot of your setup. It imposes no extra effort and goes right along with the images on the card. Even if you don’t note the flash powers or distances, it makes it a lot faster to replicate things than trying to remember what you did or reverse engineer a finished image.
Measuring Stuff
First, you don’t really need millimeter accuracy here, even when shooting a green screen background plate or a modest sized still life or product on a table. One thing to keep in mind, is that the further and bigger your lights are, and the bigger your subject is, the bigger the variations have to be to change the look.
I generally measure using the subject as the reference point. It works well when working backwards for guide numbers and flash powers, and generally, everything is pointed towards the subject anyway.
One measurement that might not be readily obvious is camera height and angle. If you’re doing a tabletop setup, or VFX background plate, it’s useful or even necessary to know the height and direction the camera was pointing in the frame. Unfortunately, even with the fancy virtual horizons it seems that our cameras still don’t log that information in the EXIF data, so you need to record this stuff manually.
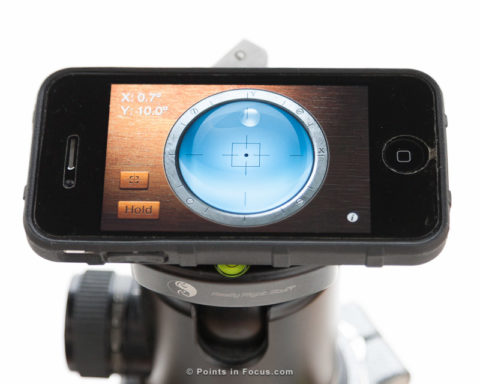
To get camera angles, and really just about any angle of a surface, I use the levels in iHandy Carpenter on my iPhone. When getting the angles for a camera, I won’t try and measure something on the camera, instead I’ll simply pull the camera off the tripod’s QR clamp and measure the angle that’s sitting at.

Additionally, iHandy Carpenter has a convenient hold button so don’t have to balance precariously your phone on your tripod while writing things down. I have no idea how accurate the level actually is, it seems about on par with its indication with the 3’ framing level I tested it against. That said, since it uses the calibration of your phones accelerometers, the accuracy can vary from phone to phone and possibly day to day.
Drawing the Diagram
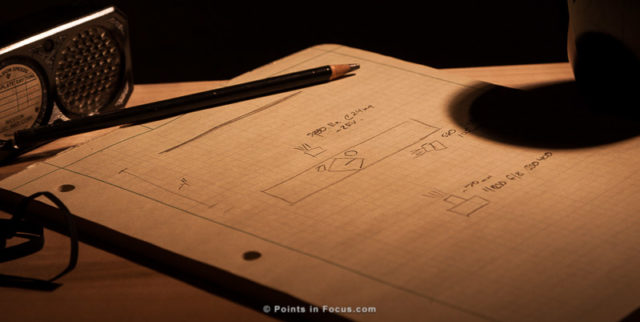
Honestly when it comes to sketching and note taking, I find there’s no actual substitute for paper and a pencil. I’ve tried, at various times, various digital solutions; from Wacom enabled TabletPCs to capacitive styluses on my iPad. To me they all suck, especially the capacitive styluses on a touch screen tablet. Some of this comes down to feel, some accuracy, and some just frustrations in the operation.
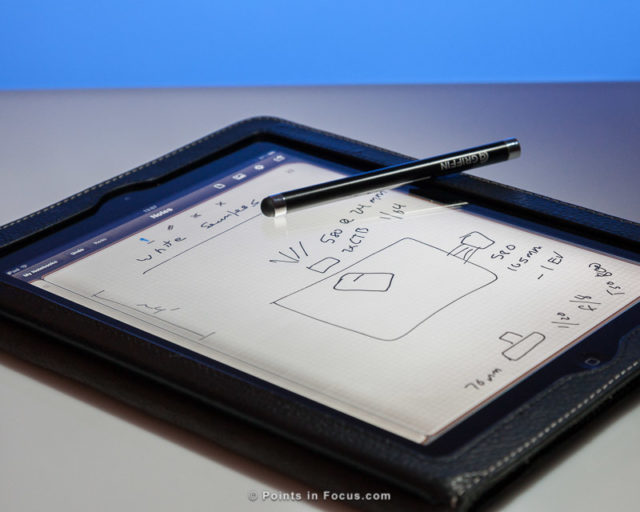
Having said that, I do have a stylus for my iPad, mine is this Griffin one(Affiliate Link) . I haven’t tested many others, but I’m going to go out on a limb here and say they’re all probably pretty much the same. Some may be smoother, some will be bigger or smaller, but they all tend to have a pointy end that’s about the same size and as squishy.
I got the stylus because I was starting to use Evernote’s Penultimate to jot down notes and ideas without carrying around a pad of paper. I mention this, because Penultimate is certainly capable of being used to keep track of your lighting and camera setups. One thing with Penultimate is that to get palm detection to work, you have to turn off Multitasking Gestures; even then, the palm detection isn’t 100% accurate.

I tried Strobox some time back, but found the UI somewhat clunky and the lack of a native iPad app that uses the full iPad screen ended up turning me off from it.
Storing, Orginzigin and Linking Setups to Images
In a way, the biggest trick here is tying setups to images. Unfortunately, since I’m writing this from a “why didn’t I do this” perspective, and not an “I’ve done this already” one, this section is more speculative than practiced advice.
Storing Setups Diagrams
In a way, this is more of a filing problem than anything else. My first thought on this is to leverage Lightroom. It already catalogs my images, and it and my images are already backed up so there’s less administrative overhead to the whole thing than there would be otherwise. Never mind there’s little need to set anything else up.
On the other hand, Lightroom doesn’t play well with all image formats. For example, it won’t import PNGs, which is what software such as Penultimate produces when you export a copy of what you’ve drawn. Sure, you can convert them to TIFFs or JPEGs, but that’s more work. Of course, if you’re scanning hand drawn images, this isn’t so much of an issue since you can scan to whatever format you want.
My second though was to use a wiki program, like MediaWiki, to handle the setups; as a nice bonus you can handle just about anything else, like model releases, there as well. Of course, in some ways this is only really a consideration for me because I already have a computer with the necessary software to do that and I’ve set them up before. If you haven’t, this isn’t probably as good of an idea as it seems to me.
Of course there are other options but these are the two I’ve considered so far. Right now, I’m leaning towards keeping everything in Lightroom; simply because it’s less for me to manage.
Linking Images to Setups
The second problem is linking the images to their setups. What I think I want to do here eventually is write a custom plugin to give me the links and a quick way to jump to the linked image. Until then, I’ve decided to repurpose an existing metadata field to store the setup reference. I settled on the user comment EXIF field, since it doesn’t change the meaning of the field in any way, and none of my cameras records anything there anyway.
If you’re not into making custom Metadata Field Lists, the user comment field is found on the EXIF, and EXIF & IPTC lists for the Metadata panel. If you are, you’ll need to add the field “com.adobe.userComment” to your field list to get the field to show up.
This method doesn’t provide a quick “link” arrow but it does store the data. I am currently looking into writing a plug-in to make this a click-able link, but it’ll be a while before I work that out.
Whether or not you record your setups is obviously a personal choice. I’ve found that if there’s a chance I may need to recreate that specific setup, a diagram goes a long way towards making my life easier.

Comments
There are no comments on this article yet. Why don't you start the discussion?