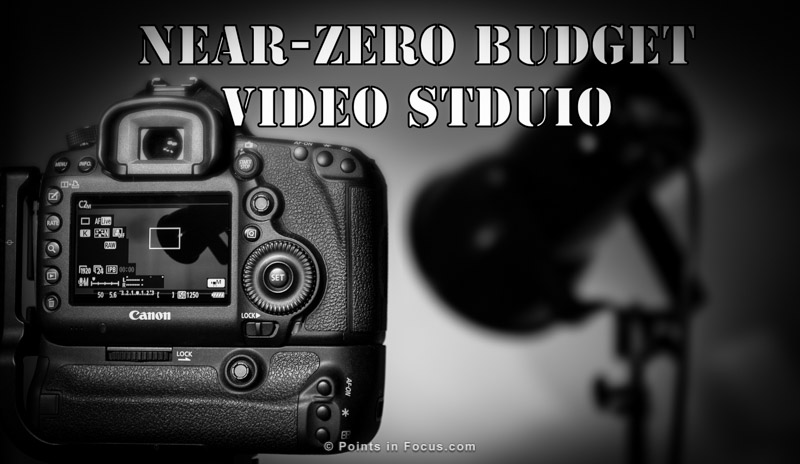
A Near-Zero Budget Video Studio: Space, Location, and Set Considerations
VDSLRs have provided a huge amount of latitude to photographers and videographers in where they can shoot and the quality of that shot. The large sensors and high ISO capabilities makes lighting much less of an issue and the advances in LED light sources have even made the lighting much more portable and easy to deal with.
That said, if you’re considering doing any kind of long running production and want any kind of consistency to the set you need a studio of some kind. But where? How big does it have to be? And what about a set?
Location
VDSLR video is portable enough that you can pretty much shoot anywhere, but it’s hard to beat having a consistent environment to work in. You can nail the lighting once, mark the locations and repeatedly recreate your lighting setup at will—if you even bother taking it apart.
Where you work is more of an open question. Obviously, a professional with a budget would use their studio space or build new studio space to meet their needs. Of course, that’s not very Near-Zero budget, so I’m going to just ignore that.
The image side of the equation dictates that you have to have a space big enough to work in and one where you can control the lighting. The sound part of video means you want a space that’s free of noise sources, or at least free of ones you can’t control, and reasonably well isolated from sound outside of that environment.
Ideally, your space will meet all 4 of those objectives. However, in many cases you’ll like be unable to control or economically affect how well isolated your space is from outside noises. In which case, you’ll likely have to resort to creative scheduling to record when there’s otherwise no noise.
If possible, you want to avoid rooms with ceiling fans (especially if they’re noisy), computers, and refrigerators. However, in all of these cases you can readily turn the device off while you’re recording. Moreover, on the point of ceiling fans, I’ve found that if the fan is sufficiently quiet and you are using a directional microphone boomed in close to your subject’s position, you can often leave them running at low and not have a problem with the recording—test this in your environment though.
One further consideration is the flooring material in the room. Hard floors, such as tile, wood, or vinyl have pros in a lot of respects. A smooth hard surface, like wood or vinyl allows you to dolly your tripod around easily, and a hard surface of any kind is a necessity if you need to roll out and stand on a paper background.
On the other hand, hard floors reflect sound whereas carpet will absorb it. In a small room, this can mean you need to add sound absorbent panels to insure a proper working environment. I’ve also discovered that if you’re barefoot, hard floors can sometimes make noise when you walk that can be picked up by the mics that otherwise isn’t an issue if you’ve got carpeted floors.
My near zero-budget studio space is a typical spare bedroom with carpeted floors. It’s away from the air handler for the AC and most other major noise sources that I can’t easily turn off, though it does have a ceiling fan. In my case, I’ve made recording tests and determined that the fan on low speed doesn’t adversely impact recording. What it isn’t, is well isolated from outside sounds, which means I’m at the mercy of things beyond my control when it comes to shooting. Soundproofing would be an option, but also an expense that isn’t very zero-budget either.
Size
Most professional studio spaces are large, and have high ceilings. This provides a lot of flexibility in positioning lights and equipment, and due to the inverse square law, eliminates a lot of problems with reflected spill light.
That said, you don’t actually need a large space to shoot decent quality video. What you do need is enough space to setup your camera and lights, and provide enough separation between you and your background if it’s needed. In general, you can do this in a space as small as 12’ x 12’ with 7’ ceilings. In other words, a typical residential bedroom is sufficient to be a workable zero-budget studio.
One consideration with respect to the size of your studio is how your composition and focal length, affect how big your background needs to be. A larger, or at least longer, room allows you to shoot with a more telephoto lens, which can reduce the size of the background you need to have. On the other hand, if you can’t move the camera back, but have to use a wider-angle lens, you’ll find you need a larger background to cover the frame. That said, for virtual sets it’s only necessary to green screen the area directly behind your subject; the rest of the area can be masked out with a matte instead—just make sure your wild gesticulations don’t go outside the green screen.
Set
The final decision in planning the physical space is whether you have a physical set or go with a virtual one. They each have their pros and cons in various ways, and again can play towards or against strengths and weaknesses in your gear, abilities, and most importantly budget.
Physical sets have some nice advantages. For starters, even if your set is nothing more than a simple backdrop, everything is done in camera. There’s no need to worry about chroma keying, or matching lighting with potential background plates. You also have something you can touch, which may or may not be worthwhile. Moreover, a physical set can allow you to reduce the size of the area you need to shoot, as there’s much less of an issue with evenly lighting a background.
On the other hand, physical sets cost money to make, can take up space, and can be harder to fold away when not needed. Cost wise they can range from not a whole lot, if you just use a backdrop, to quite a bit if you actually invest the effort into putting together a real quality set (never mind the costs of tools). There’s also a space consideration for anything more complicated than just a backdrop.
A virtual set, on the other hand, poses different problems and solutions. On the up side, it offloads almost all of the costs and space concerns. All you need is a green screen and some lights, not exactly hard to store out of the way. On the other hand, it requires a considerable investment in post-production, both in time and money.
I chose to go with the a virtual set, in part because I could reduce most of the upfront costs, and in part because I already had both Premiere Pro and After Effects to do the keying. I had looked at painted/printed backdrops, such as the ones offered by F. J. Westcott, but at $100 or more I felt they weren’t necessarily a good deal for me.
For me, the collapsible background option was attractive, as my studio space is shared use with a guest bedroom and spare project room; a collapsible screen would make it easy to fold it down and get everything packed out of the way quickly and easily. On the other hand, for the size I needed, the price of a cheap collapsible background was more than I wanted to spend.
One good solution is the same paper background material used by many photographers for temporary sweeps. A 53” wide roll of Savage Tech Green background paper is only $26, and a 107” wide roll is only $46. A bit of gaffer’s tape, or some Velcro, to hold it up and you have a perfectly workable green screen for under $50. I’ll get more into green screens in future installments.
There’s one final set consideration. One thing a virtual set can’t do is provide a place to set something down, or sit down. I hadn’t planned on this initially; I was expecting to just stand in front of the camera and speak. However, after working through some early tests, I’ve noticed that in a lot of cases I want a table that can put relevant props on or just for shooting cutaways of various small things.
As for the budget, so going with a virtual set, and ignoring the costs of keying software, the set aspect of my video studio has cost me $40 so far, for the background paper. However, I expect to add another $100 to that when I finally pick a table to use.
Next up is an overview of lighting technologies and how they play in a near-zero budget situation.